A customer asked us a really good question this week: can you add worms to large planters that are sitting on paving?
It’s exactly the sort of question we love, because the answer is not quite as simple as:
“Buy worms. Add worms. Job done.”
Sorry. Worms are marvellous, but they are not tiny soil-rescue superheroes with hard hats and a clipboard.
They need the right conditions to live, feed and do their thing.

The Question
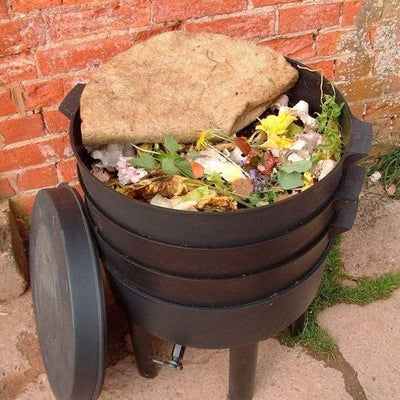
A customer had several large planters sitting on paving stones. The planters had small drainage holes, but because they were not connected to open ground, worms could not move naturally in or out.
The soil looked pretty lifeless and there were no worms in it.
So the question was:
Should I add worms to my planters — and how do I prepare the soil so they don’t just die?
And that is exactly the right thing to ask first.
Planters Are Not the Same as Open Ground
In open garden soil, worms can move.
If it gets too dry, they go deeper.
If it gets too wet, they move away.
If there is no food, they travel.
If conditions are wrong, they have options.
In a planter sitting on paving, they haven’t.
They are basically living in a box.
So if that planter becomes too dry, too wet, too hot, too cold, compacted, short of organic matter, or full of harsh fertilisers, the worms are stuck.
That’s why we would not recommend adding lots of worms straight away.
More worms do not magically fix poor soil.
The first job is to make the soil more worm-friendly.
And, happily, that usually means making it more plant-friendly too.
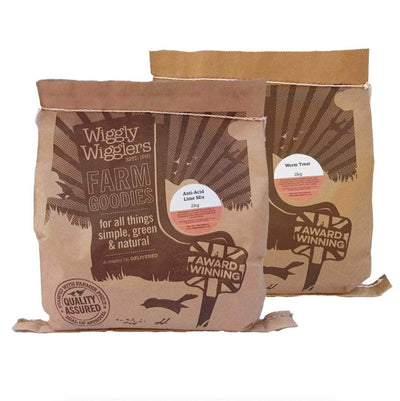
First, Feed the Soil
Before adding worms, improve the soil with organic matter.
Good options include:
well-rotted compost
leaf mould
old potting compost
very well-rotted manure
worm casts
a little garden compost
Avoid fresh manure or anything too strong in a confined planter. In open ground, things have room to dilute and settle. In a planter, strong material can quickly become too much.
You are aiming for soil that holds moisture, drains well, has structure, and contains food for soil life.
Think sponge. Not brick. Not soup.
Then Mulch the Top
Mulch is one of the easiest ways to improve planter soil.
A layer on the surface helps to:
keep moisture in
protect the soil from baking in the sun
reduce compaction from heavy rain
feed soil life slowly
create a cooler, steadier environment for worms and microbes
Good mulches include compost, leaf mould, chopped leaves, bark, straw, or wool mulch.
INTERNAL LINK: Link “wool mulch” to Wiggly Woolch if relevant.
INTERNAL LINK: Link “worm casts” or “worm compost” to Frass / worm cast / soil improver page.
Get the Moisture Right
Worms need moisture, but they also need air.
The best guide is this:
The soil should feel like a wrung-out sponge.
Not bone dry.
Not waterlogged.
Just gently damp.
This matters even more in planters because they can swing from one extreme to the other very quickly. A hot day can bake them dry. A heavy downpour can leave them soggy, especially if the drainage holes are small or blocked.
So check drainage before adding worms.
If water sits in the bottom, worms will not thank you.
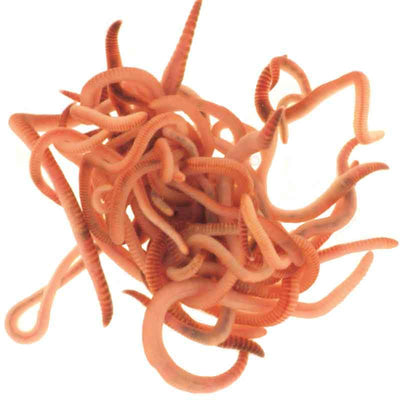
Which Worms Should You Add?
This is where it gets important.
There are different sorts of worms for different jobs.
Composting worms are brilliant in wormeries, compost heaps and rich organic material. They love decaying food waste, bedding and composty conditions.
Garden worms are better suited to soil. They help move through the ground, mix organic matter, open up channels and improve soil structure.
So for planters, you are generally better thinking about garden worms, not loads of composting worms.
But even then, only add them if the planter is large, deep, mulched, and kept reasonably moist.
How Many Worms Should I Add?

Not loads.
That is the honest answer.
In a closed planter, we would suggest starting with a small trial amount rather than tipping in a big bag and hoping for the best.
If the conditions are right, they will settle. If the conditions are wrong, adding more will not solve the problem.
Worms need habitat first.
So start small, improve the planter, and watch what happens.
Long-Term: How to Keep Worms Happy in Planters
If you want worms and soil life to thrive in planters, the long-term answer is simple:
Keep the soil mulched.
Add small amounts of organic matter regularly.
Don’t let the planter dry out completely.
Don’t let it become waterlogged.
Avoid harsh chemicals and strong fertilisers.
Disturb the soil as little as possible.
Top up with compost or leaf mould when needed.
Grow plants with living roots wherever possible.
Basically, feed the soil — not just the plant.
That’s the bit we bang on about for a reason.
Can Worms Improve Drainage in Planters?
Yes, potentially — but only if the planter conditions are right.
Worms can help create channels and improve soil structure. But they are not a substitute for proper drainage.
If a planter has poor drainage, compacted soil, blocked holes, or sits permanently wet at the bottom, worms will struggle.
So check the basics first:
Are the drainage holes clear?
Is the planter raised slightly off the paving?
Is the soil compacted?
Does water drain away properly?
Is there enough organic matter?
Once those things are right, worms have a much better chance.
The Wiggly Answer
So, can you add worms to planters?
Yes — but don’t start with the worms.
Start with the soil.
Improve it. Mulch it. Keep it damp, not soggy. Add organic matter. Make it a place worth living in.
Then, if your planters are large and deep enough, you can try adding a small number of garden worms and see how they get on.
Because worms are not a magic ingredient.
They are part of a living system.
And when the system is right, they get to work beautifully.