LEVEL 1: THE COLLECTOR TRAY (PART c)
This tray acts as a sump. Excess liquid drains into it from the working trays above. Do not put any worms, compost or scraps in here! The cone in the
collector tray allows any worms that fall into this tray to climb back up.
LEVEL 2: The bottom working tray (PART B2)
Use half of the provided Bedding Block to start the worms in this tray.
- Half fill a bucket with warm water. Put your Bedding Block into the water.
- As the block soaks-up the water, begin to break it up into an even mix. It should take an hour or so. Squeeze out any excess moisture when finished.
- Evenly distribute the soaked bedding into the top tray It should nearly come up to the plastic ribs on the inside of the working tray.
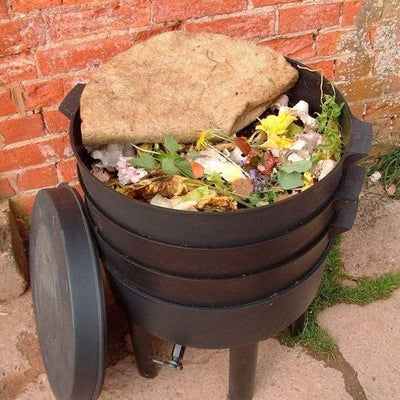
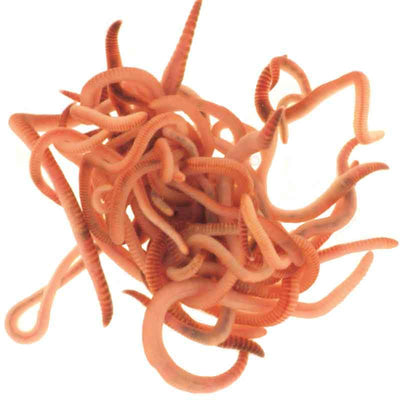
- Empty your bag of worms onto the bedding. Worms are light sensitive, so leave the lid off for a couple of hours to encourage them to burrow down into the bedding.
- Once the worms have burrowed into the bedding you're ready to add your first waste. Spread it evenly on top of the bedding: a few handfuls is all you need this first time. If you have one, cover with a Moisture Mat (no need to wet it), otherwise use an old woollen jumper or even some newspaper. Fit the Lid.
Slowly, over the next few weeks, add more waste (small amounts at a time) until the tray is full. Always cover the waste with the Moisture Mat and Lid. You don't need to wait until the worms have eaten all the previous waste: as long as they are working just below the surface they're ready for you to add a little more.
LEVEL 3: THE TOP WORKING TRAY
Place the Top Working Tray on top of the first Working Tray only when you are sure its base will touch the material beneath. You will need to lift out your Moisture Mat to do this: always place your Moisture Mat (and Lid) on top of the freshest waste. Always ensure that the waste level touches the base of the new Tray before fitting it's the worms continuously reduce the volume of the waste this level sinks all the time!
Now you can continue to add waste to the new Tray. Before adding any more waste ensure that the worms are working just below the surface of the existing waste.
HARVESTING YOUR COMPOST
Gradually add waste as you did in the Top Working Tray until it too is full. At this stage most of the worms will be in the Top Tray, the Bottom Tray will contain fully worked waste, ie worm casts. Now is the time to take out the Bottom Working Tray and harvest the rich casts. Once you have emptied this Bottom Working Tray it goes back on the top of the pile becoming the new Top Working Tray and you start adding scraps here to begin the process all over again.
Note: When starting the Top Working Trays you don't need to add further bedding as you did when first setting up the kit. The worms will make their own bedding as they progress up through the system.
It may take over 6 months for your system to become ready to harvest its first compost. Thereafter you should be able to harvest new bottom trays full of compost on a regular basis. Important: Add a handful of Lime Mix and Worm Treat every couple of weeks with your kitchen scraps.
Urbalive is the new face of Worm Composting -
https://www.wigglywigglers.co.uk/collections/urbalive-wormery-kits