This post is a collaboration with startcomposting.co.uk, our new website full of guides and tips to help get the nation composting!
Bokashi composting is a fantastic method for recycling kitchen scraps and turning them into nutrient-rich soil amendments. This environmentally friendly approach helps divert organic waste from landfills while producing valuable compost for your garden. In this article, we'll explore the world of bokashi composting and guide you through the process of making your very own DIY bokashi bucket, a cost-effective and eco-friendly alternative to commercial options.

Creating a DIY bokashi bin using two buckets, one for collecting liquid and the other as an airtight container with holes in the bottom, is a practical and space-saving way to compost kitchen waste. It’ll only take a matter of minutes to have an excellent way to compost your food waste.
Materials you’ll need:
1. Two food-grade plastic buckets with lids (20 Litres or larger) Make sure that the buckets slot neatly into one another.
2. Drill and drill bits
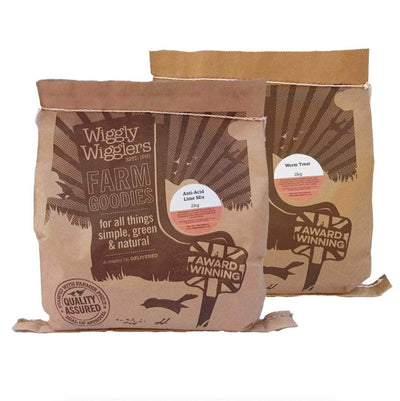
3. Bokashi bran (Order here from Wiggly Wigglers)
4. Kitchen scraps (fruit and vegetable peelings, coffee grounds, etc.)

Here’s how to make your own bokashi bin:
1. Prepare the Buckets:
- Thoroughly clean the two buckets and their lids. Make sure they are food-grade and free from any chemicals or residues.
2. Create Ventilation Holes:
- Drill several small holes in the bottom of the top bucket. These holes will allow liquid to drain into the bottom bucket while keeping the top bucket airtight. Ensure the holes are small enough to prevent worms or insects from entering.
3. Assemble the kit
- Slide the top bucket into the bottom bucket making sure it fits snugly. Your bokashi kit is complete!

4. Layer Bokashi Bran:
- Start with a layer of kitchen scraps at the bottom of the top bucket.
- Sprinkle a generous amount of bokashi bran over the scraps. The bran contains beneficial microbes that aid in the fermentation process.
5. Layering and Composting:
- Continue to add kitchen scraps in layers, sprinkling bokashi bran over each layer.
- Press the waste down firmly to remove air pockets.
6. Seal the Top Bucket:
- After each addition of waste and bran, make sure the top bucket is sealed tightly to prevent oxygen from entering.

7. Drain Liquid:
- As the waste ferments, it will release a liquid (bokashi tea) that drains through the holes into the bottom bucket. You can lift the top bucket to collect and use this liquid in the bottom bucket as a liquid fertiliser. For easier collection you could either add a tap onto the bottom of the outer bucket, or make a hole in the outer bucket, prop it up on two bricks and put a cup or tray underneath to collect the liquid.
8. Wait for Fermentation:
- Allow the waste to ferment for at least two weeks, or longer if needed. The time required for fermentation can vary.
9. Bury or further Compost:
- Once the waste has fermented, it’s ready to be buried in the ground or added to a traditional compost pile. The fermentation process makes it easier for the waste to break down. You can also add to a worm composting kit.
10. Start a New Batch:
- Begin the process again in your two-bucket bokashi system with new kitchen scraps.
This DIY two-bucket bokashi bin system efficiently ferments kitchen waste and collects bokashi tea, making it a space-saving and environmentally friendly way to deal with organic waste in your home.
For more information about Bokashi Composting visit https://startcomposting.wordpress.com/bokashi-composting/
To order Bokashi Active Bran pop on over to https://www.wigglywigglers.co.uk/collections/bokashi-composting
#compost #composting #bokashi #kitchencomposting #foodcomposting #greenliving #ecolife #wigglywigglers