So your Subpod has arrived with our courier and you want to get it all set up - there are fantastic instructions included but we've also created this handy step by step guide - with photos!
1. Remove your subpod from the box, you should also remove all parts and leaflets so you just left with the main section of the composter.

2. Open up the four sides, they simply click into place. You may need to bang them together with your hand. They should fit nice and flush together as shown in the 2nd photo below.


3. This bit can be a bit tricky, you need to slide in the separator into the grooves along the middle of the composter. You need to check both sides to make sure it's going into all the grooves. The corner with the triangle cut out goes at the bottom rear of the bin.


4. Get the lid to the bin and attach it to the three tabs at the top of the unit - you need to pull them until they are about half way up and then push the lid on - there are 3 small holes for the clips to go into. You may need another person to help with this step.

5. Next it's time to connect the hinge. Remove the pins from the hing and slide the long pin through the holes in the lid - then put the pins back in. Likewise attach the bottom of the hinge to the separator - look for the hole with the arrow beside it. On this one you also need to put the two beads on either side of the separator and add the pin too.


6. And that's it! Now it's time to either get digging a hole for your subpod or to start filling up your grow bed.

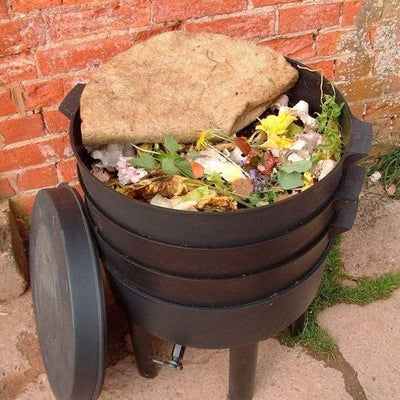
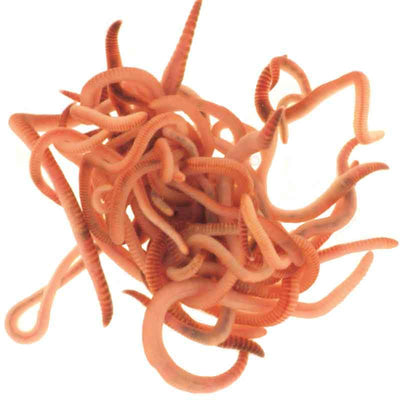
7. Lastly all you need to do is to add some material, add some worms and then cover with a moisture mat!
Subpod is the latest member of the Wiggly composter family. For more details and to order online please wiggle on over to https://www.wigglywigglers.co.uk/collections/subpod-in-garden-compost-system