


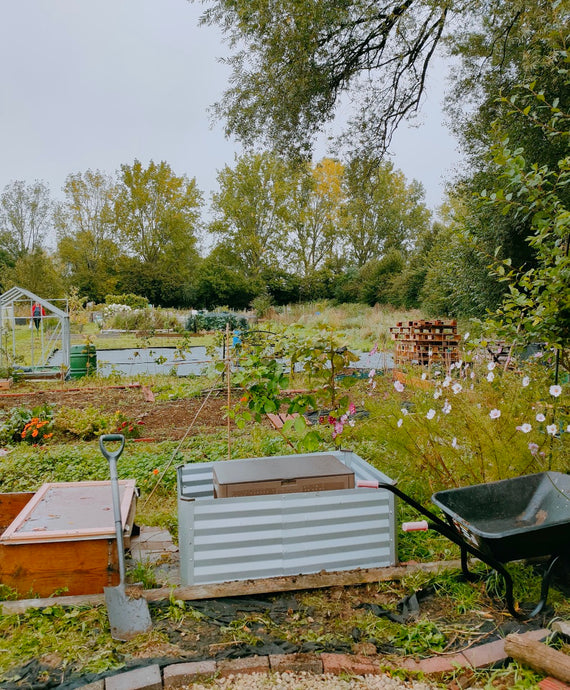
Here's a simple guide on how to set up your Subpod Grow Garden Bed - perfect for above ground composting with Subpod!
1. Remove all the pieces from the box and check they are all correct.
2. Connect the two pieces of each longer side together using 8 nuts and bolts provided. The bottom of the sides is the edge with the little lip - this also goes on the inside of the bed.


3. Using the nuts and bolts provided, attach the corner sections to the sides - you may need to rest them on a chair or wall to do this. P.S. the top of the corner sections is the one with the horizontal metal part.

4. Continue until you've attached all the corner sections to all of the sides - we found its easiest to do one corner on each side and then connect them all together on by one.


5. Attach the four plastic corner covers. They just clip on.

6. If you didn't make the bed where you want it to live, then move it to it's final home. You may need another person to help you move it.

7. And that's it! Time to start filling with soil - fill about half way and then put your Subpod in place so it's the right height - then fill around it!

Subpod is the latest member of the Wiggly composter family. For more details and to order online please wiggle on over to https://www.wigglywigglers.co.uk/collections/subpod-in-garden-compost-system